Dramatic Skys Texture Pack 1.21.9, 1.21.8 → 1.20 - Free Download
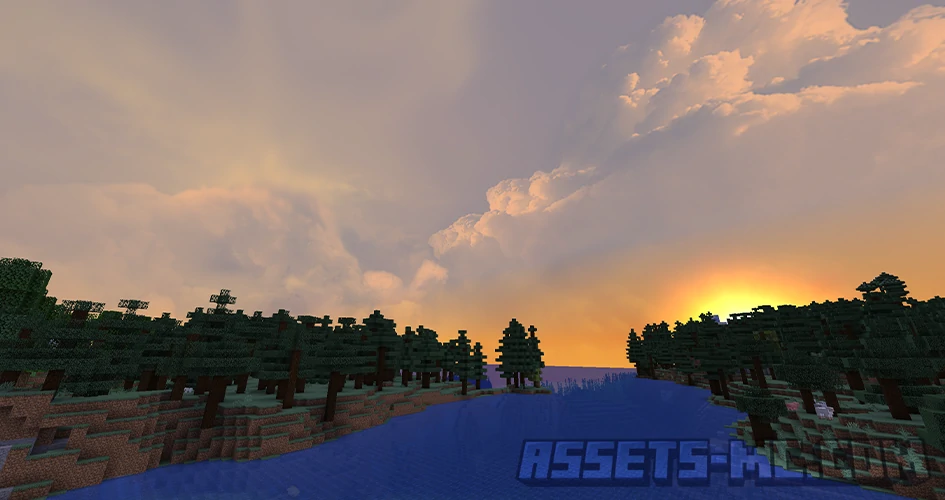
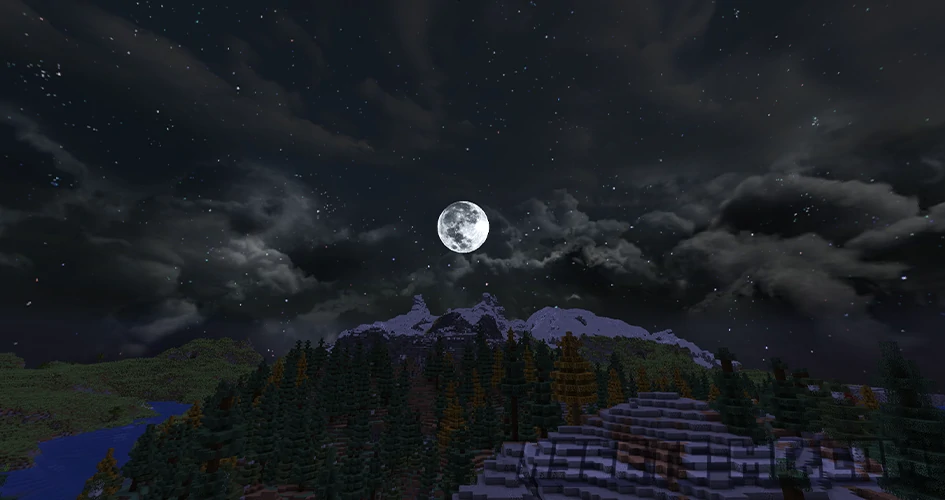
If you’ve ever paused in Minecraft just to watch the sunset over your survival base, the Dramatic Skys Texture Pack is about to take that moment to the next level. This pack replaces Minecraft’s default sky textures with realistic clouds, vivid sunsets, glowing stars, and smooth weather transitions, creating a world that feels more alive than ever.
Whether you love exploring biomes, building mountain bases, or sailing across oceans at night, Dramatic Skys turns every moment into a cinematic experience — without crushing your FPS. It’s the perfect realistic sky Minecraft enhancement for players who want atmosphere, immersion, and adventure in every survival session.
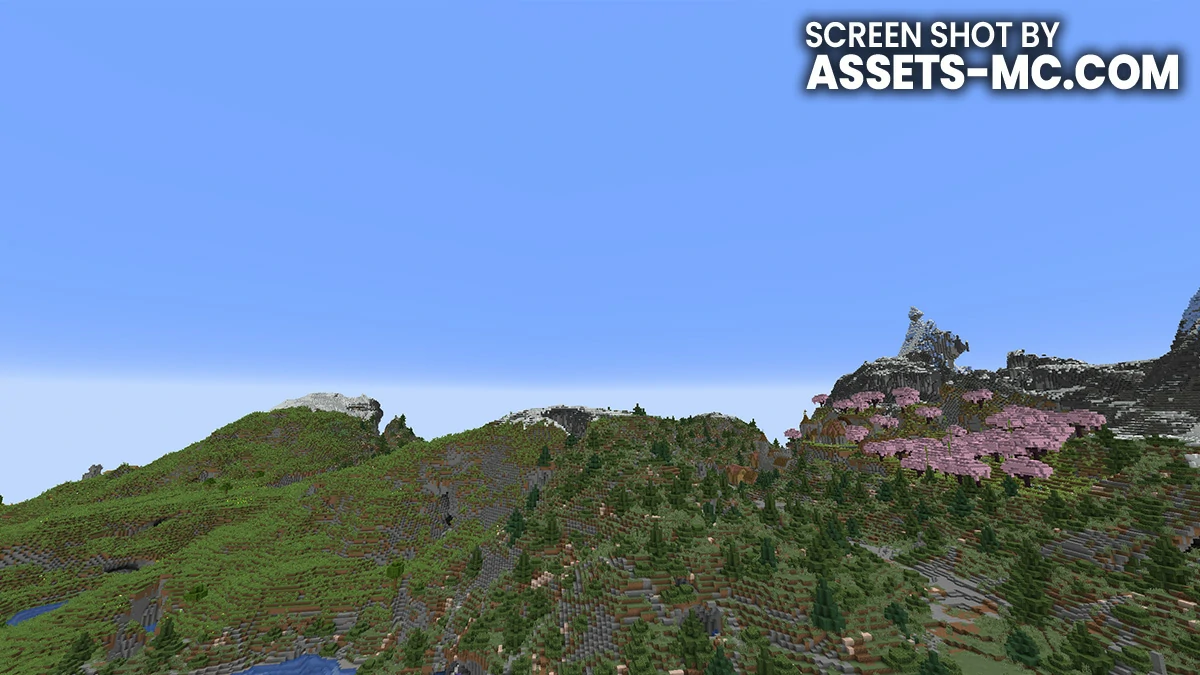
Before & After Comparison
Compare the appearance of Default Resources to Dramatic Skys TexturePack.

What Is the Dramatic Skys Texture Pack?
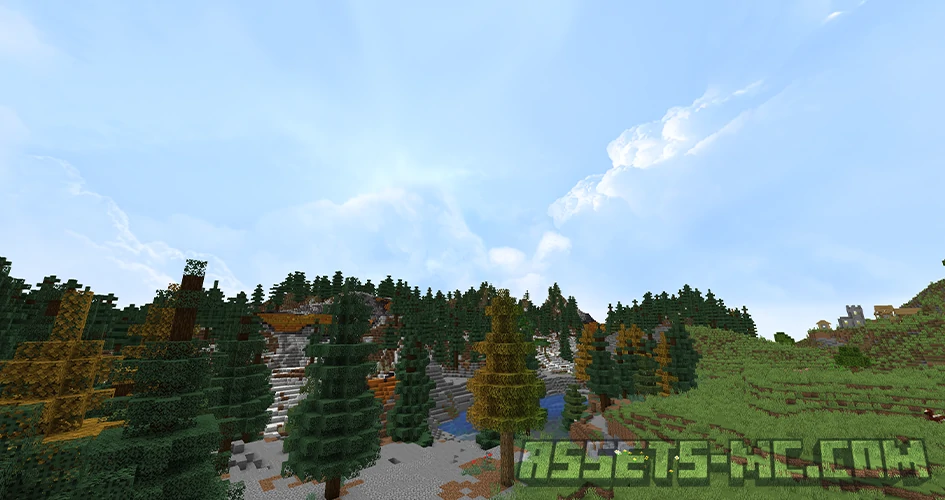
The Dramatic Skys Texture Pack is one of Minecraft’s most beloved sky enhancement resource packs, designed to completely overhaul how the sky looks and feels during gameplay. Instead of flat blue backdrops, you’ll see layered cloud formations, dynamic lighting, and realistic day-night transitions that make every sunrise and storm unforgettable.
Developed with both immersion and performance in mind, the pack enhances the visual mood of survival worlds — from peaceful dawns to thunderous storms — all while staying lightweight enough to run smoothly on most setups.
Players describe it as the best sky texture pack for survival, combining cinematic visuals with the relaxing familiarity of Minecraft’s environment.
Why Survival Players Love Dramatic Skys
Minecraft’s original sky has a certain nostalgic charm, but after hundreds of hours in survival, it can start to feel empty. Dramatic Skys changes that.
Here’s why survival players can’t get enough of it:
Immersive exploration – every biome feels fresh when the light and weather change dynamically.
Enhanced atmosphere – sunsets glow, stars shimmer, and storms roll across the horizon realistically.
Peaceful downtime – whether you’re farming, fishing, or mining, the environment feels calming and alive.
Low performance cost – despite the realism, it’s an FPS-friendly texture pack, optimized for smooth gameplay even on mid-range PCs.
If you’ve ever wanted to feel like you’re truly living in your Minecraft world instead of just playing it, this is the pack to install.
Video and Screen Shots
Compatibility and Installation
The Dramatic Skys Texture Pack works seamlessly across most Minecraft versions and is regularly updated to stay compatible with the latest releases.
Supported Versions
Minecraft 1.21+ (fully supported)
Backwards compatible with 1.20, 1.19, and 1.18
Works on OptiFine, Iris + Sodium, and most custom shader loaders
Shader Compatibility
As mentioned earlier, this pack blends perfectly with:
BSL Shaders – perfect for warm, soft lighting.
Complementary Shaders – enhances sky blending and fog.
Sildur’s Shaders – boosts vibrancy and contrast.
Resource Pack Stacking
You can easily layer it above other texture packs like:
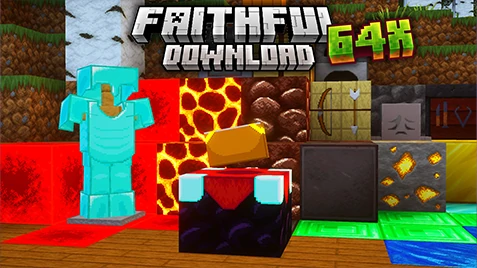
Faithful (for clean block textures)
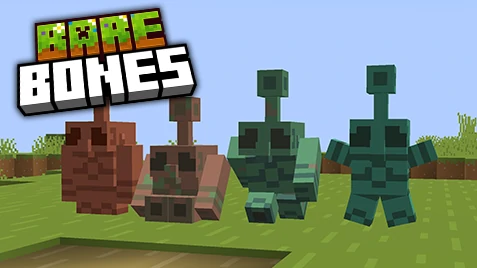
Bare Bones (for minimalist builds)
Visible Ores (for mining clarity in caves)
Motschen’s Better Leaves (for natural foliage)
Together, these combinations create a fully immersive survival experience without losing performance.
Versions INFO
CHECK OUT THESE TEXTURE PACKS

How to Install Dramatic Skys Texture Pack?
- To use all cool features in this pack, download and install Optifine
- Download the Dramatic Skys for Minecraft by clicking one of links bellow.
- Launch Minecraft
- Click “Options” on the main menu.
- In the options, go to submenu “Resource Packs“.
- Click “Open Pack Folder” at the bottom left to see a folder titled “resourcepacks“.
- Put the downloaded ZIP file into your “resourcepacks” folder. Or, just drag and drop it into the Minecraft window to add the pack.
- You will see the pack on the left side off the resource pack selection menu. Unzip the file if you can’t see the pack.
- Hover over the pack thumbnail and click the arrow pointing right.
- Click “Done” and all assets have been loaded.
- Credit for the creation of Dramatic Skys goes to theBaum64
- Our website does not host any files directly. All download links are sourced from the original creators. Every pack is carefully checked and guaranteed to be virus-free, providing a safe and secure experience.
- Do you have any feedback to share? Leave a comment and rate the pack to support the creators!
Free Downloads
CHECK OUT THESE SHADER PACKS

theBaum64
Links
Dramatic Skys FAQ
1. What is the Dramatic Skys Texture Pack and how does it improve survival gameplay in Minecraft?
The Dramatic Skys Texture Pack replaces Minecraft’s default sky textures with realistic clouds, sunsets, and weather effects. It enhances immersion and exploration, making your world feel more alive and atmospheric — perfect for immersive skies Minecraft survival gameplay.
2. Does the Dramatic Skys Texture Pack work with shaders like BSL or Complementary?
Yes. It’s fully compatible with most popular shaders. Using Dramatic Skys with BSL Shaders or Complementary Shaders enhances the experience even more — reflections, lighting, and color tones blend seamlessly for a cinematic, realistic sky Minecraft setup.
3. Is the Dramatic Skys Texture Pack available for both Java and Bedrock Edition?
Currently, the primary version supports Minecraft Java Edition, making it the best sky texture pack for Java players. However, community ports and Bedrock-compatible versions exist on trusted sites, offering Minecraft sky enhancement for Bedrock players as well.
4. Does Dramatic Skys affect FPS performance in large survival worlds?
Not much at all. It’s an FPS-friendly texture pack, optimized to run smoothly even with large render distances or heavy mod setups. You’ll enjoy stunning visuals without the lag that comes from heavier sky mods or shader-dependent packs.